
Tuesday, March 29, 2011
Spring Cleaning Wrap Up
Hello Everyone! Just a short reminder to all of you who sold items at this past Saturday's craft fair to please come and pick up your leftover items and collect your sales by Thursday, March 31st. We have a class on Friday, so please pick up items by Thursday afternoon. Thank you!

Thursday, March 24, 2011
Spring Cleaning Sale Reminder
Hello Everyone!
Just a reminder that this Saturday is our semi-annual Spring Cleaning Sale! Everyone has dropped off their sale items, so we've been busy organizing everything for the big sale day. There will be lots and lots of goodies to choose from. Please remember to bring cash for rummage sale items- sorry, no checks or credit cards will be accepted.
In addition to the rummage sale items, we are also having some in-store specials for Saturday only. Here's some of the sales you can look forward to:
See you soon!
Just a reminder that this Saturday is our semi-annual Spring Cleaning Sale! Everyone has dropped off their sale items, so we've been busy organizing everything for the big sale day. There will be lots and lots of goodies to choose from. Please remember to bring cash for rummage sale items- sorry, no checks or credit cards will be accepted.
In addition to the rummage sale items, we are also having some in-store specials for Saturday only. Here's some of the sales you can look forward to:
- 12x12 cardstock and swiss dot cardstock- 2/$1
- Paperpacks- buy 2 get one free (free pack is of equal or lesser value).
- 50% off red tagged items! Tons of recently marked down items to choose from
- Don't forget your coupon (for IS Members only)
See you soon!
Friday, March 18, 2011
More Punch Cards By Don

Don's been busy punching away and dropped off a few samples for the store. Don does it again by combining different punches, embossing folders, and stamping to create a set of cards that coordinate together. Oh yah- the Arigato you see there is a new custom laser cut by Island Scrapbooking! Perfectly sized for cardmaking.


There's more samples to see at the store, so stop on by to see the rest!
Thursday, March 17, 2011
New Dandelion Easter Cling Set

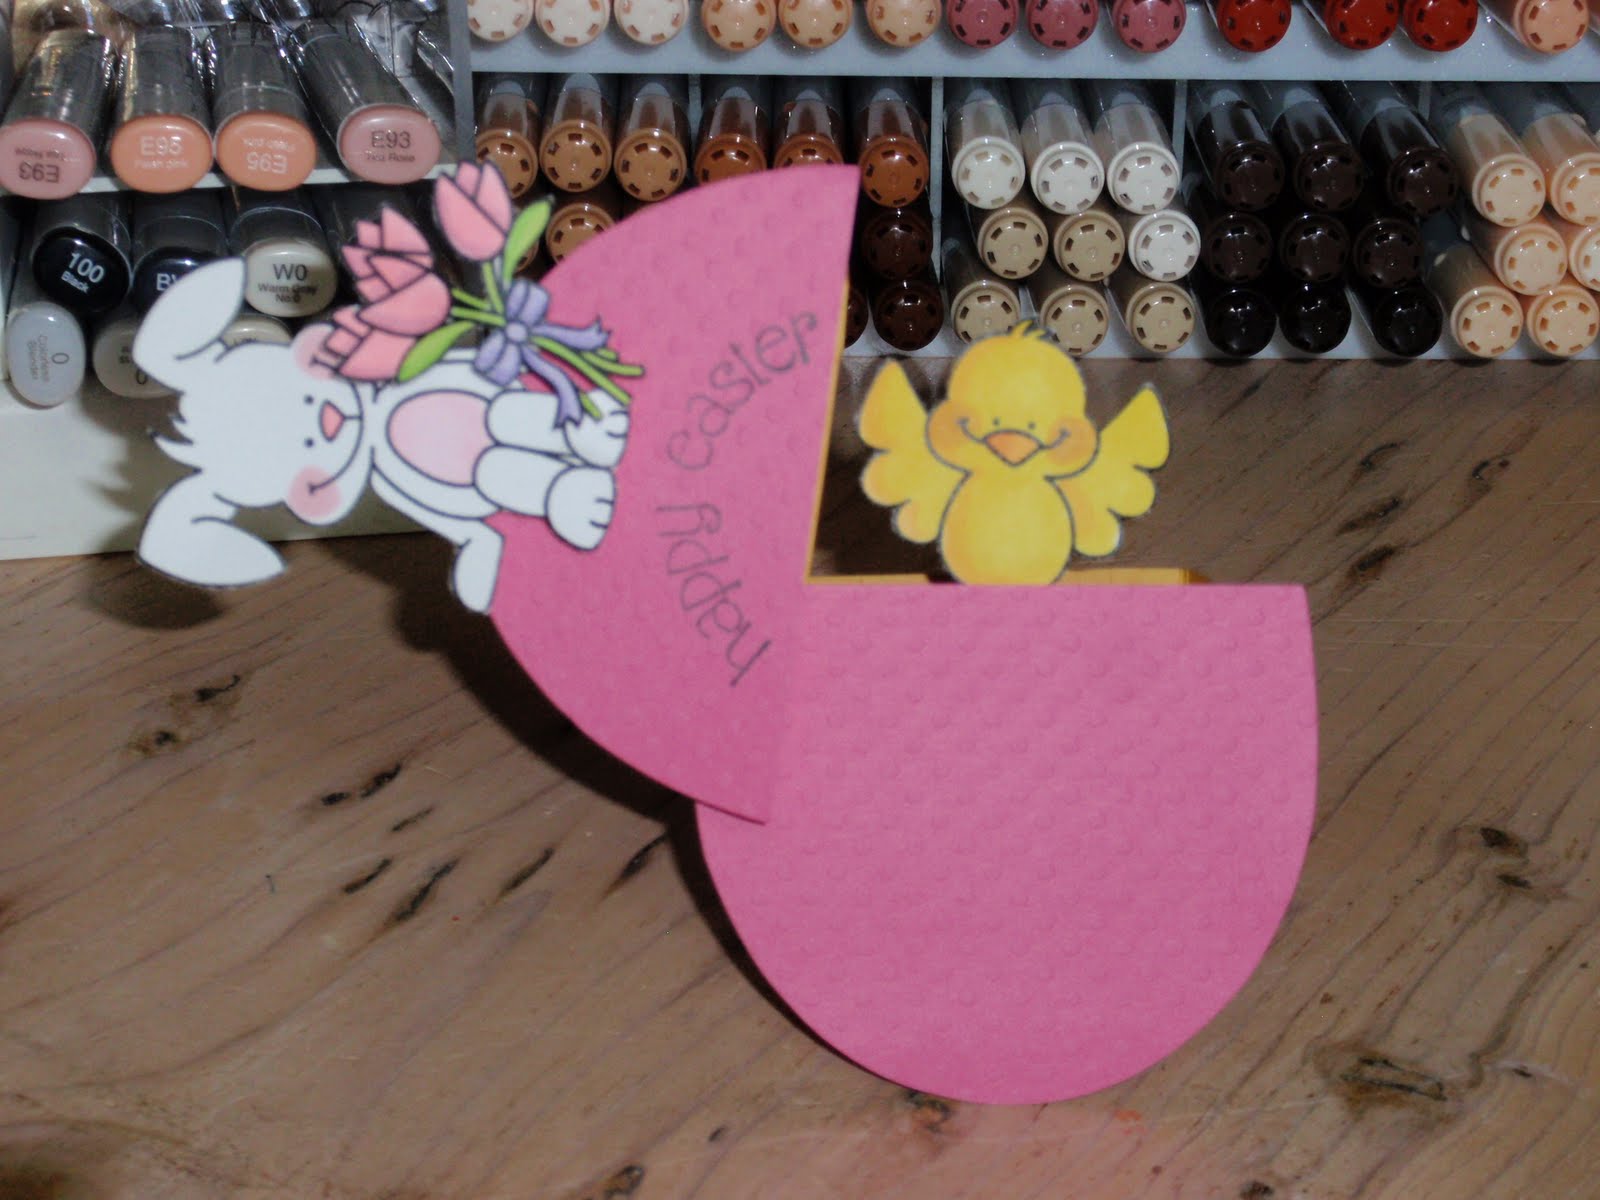
We just love these new Dandelion Clings! You get all the stamps featured in the picture plus project instructions! This set comes with this cute egg box instructions.. So cute!
Surprise! The little chicky pops up to say Happy Easter!
Wednesday, March 16, 2011
Tons Of New Stuff!
Wow! Returned from vacation and the store looks really different! So many new products I couldn't stop walking around trying to figure out what was new! Took a few photos to show you a couple of the goodies I found... Like Copics!

Saw these new embossing folders too. Sorry the photo is upside down- can't figure out how to turn it right side up!

In addition to these goodies, you will also find:

Saw these new embossing folders too. Sorry the photo is upside down- can't figure out how to turn it right side up!

In addition to these goodies, you will also find:
- New Hero Arts from their Spring Catalog, plus some re-orders.
- New CC's Designs
- New Lawn Fawn
- New paper- new asian designs, baby girl, baby boy, vintage and spring themes.
- New 8 1/2 x 11" paper packs- white one one side, color on the other.
- More washi paper back in stock
- New embossing powders in China Red, Roman Gold, etc.
- New Sizzix dies
- New Martha Stewart Punches
- And much more! Too much for me to remember!
Saturday, March 5, 2011
SWALK Watering Can

Have you seen these cute SWALK stamps yet? There are so many cute images to choose from it was hard to decide which one to use, but I decided on this cute girl with the watering can since I was making a watering can. Found the template on Splitcoast Stampers and printed it on patterned paper. You could fit small treats into the watering can to make a cute favor. Have fun!
Friday, March 4, 2011
Thinking of You
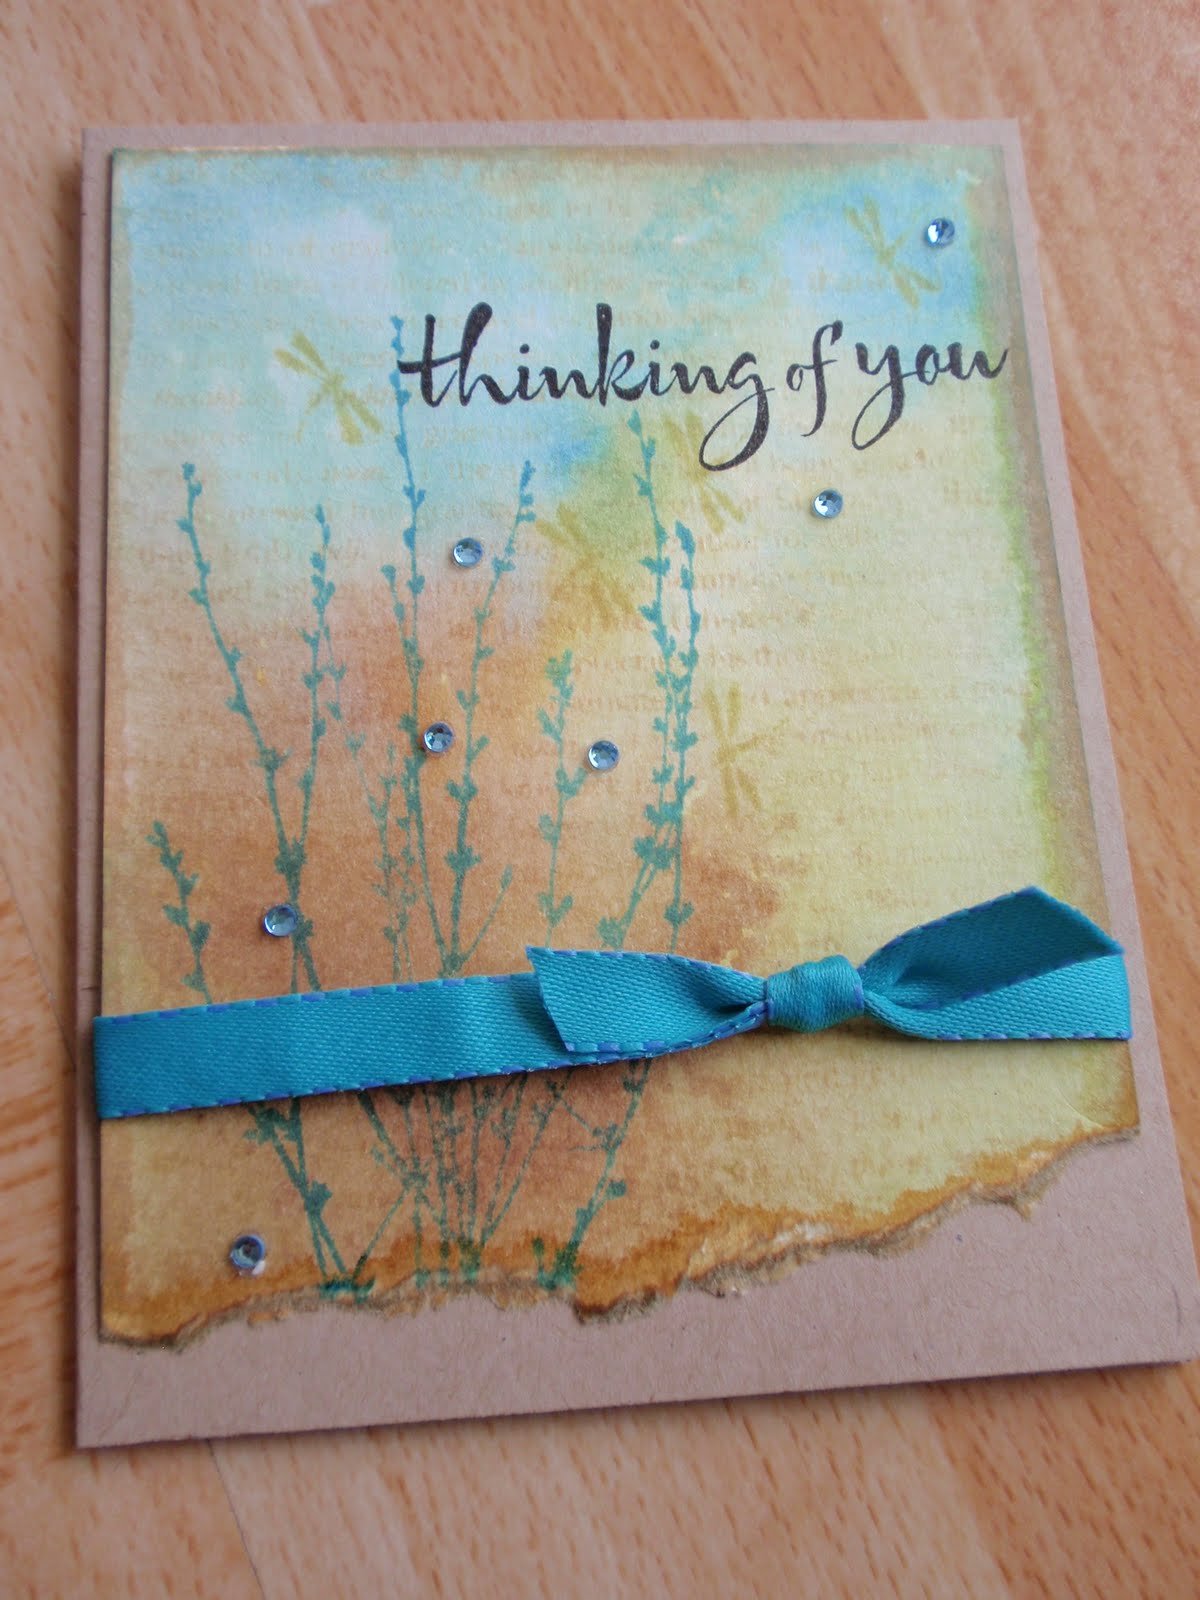 Have you ever tried stamp layering? Its a fun way to utilize a lot of different stamps on one card and eliminate patterned paper altogether. This particular card was made using water color paper, which is great to use when watering down your distress inks. By diluting the distress inks, you really get a softer look to your card.
After making the watercolor background, I stamped the Thanks background cling with distress ink. Then I added the weeds in more distress ink and then the dragonflies. To make the words stand out, used regular versafine ink and added some blue crystal accents. Before adhering the paper to the card, I decided to tear the bottom and add more distress ink to cover up the white core. Accented the bottom with a ribbon and then taped it to the card. Gee, after I wrote it out, sounds like a lot of steps, but it really wasn't that difficult. The hardest part was figuring out what stamps to use. Have fun!
Subscribe to:
Posts (Atom)


