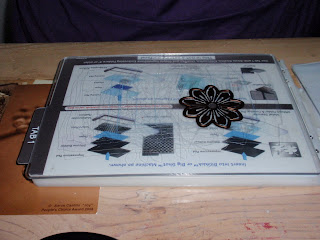
Have you ever noticed that after you cut with your Spellbinders dies, there is a faint embossing on your image? Can't figure out why the embossing is not as defined as in the samples? Here's the secret... you need the Spellbinder embossing mats to help you!
We've been getting so many requests on how to use the new Spellbinders embossing mats recently, that we decided it was time to do a tutorial on how to use this product. Get out your Big Shots, multi-purpose platforms, cutting plates, spellbinder die (made for embossing), embossing mat, and cardstock and let's get to it!
Step 1: Cut out your image using your big shot/multi-purpose platform with side that cuts the image facing up and with cardstock right side down. Your image will be in the die after you cut it. Keep it there for the next step.
See- cutting side up?
This is what it will look like after you cut the cardstock.
Here's what your image will look like if you flip it over.
Step 2: Now change to tab #1 on your multi-purpose platform. Keeping your cardstock still inside the die, place die with cutting side up again onto cutting plate and lay Spellbinder embossing mats (there are 2) over the die. Put on top cutting plate and run through Big Shot again.

See the difference? The flower on the left was just cut using the die but we did not run it through again with the embossing mat. The flower on the right shows the image that was cut from the same paper, but this time run through again with the embossing mat. The embossing is much more pronounced in the image on the right. Believe me, you'll love the results!
Hope you enjoyed this tutorial... If you'd like to learn more about how to use another product, post a comment here with the product name and what you want to know. We are happy to help if we can!


No comments:
Post a Comment